Making Tiny Prints
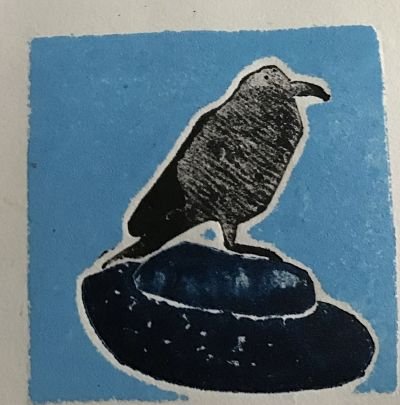
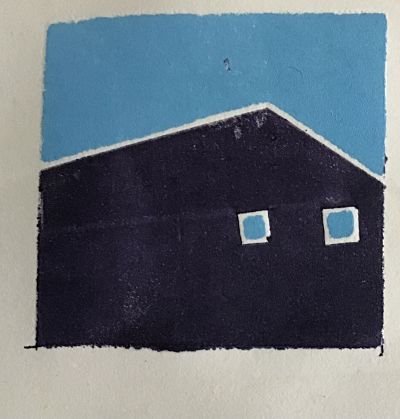
Violet house against a blue sky 2” x 2”
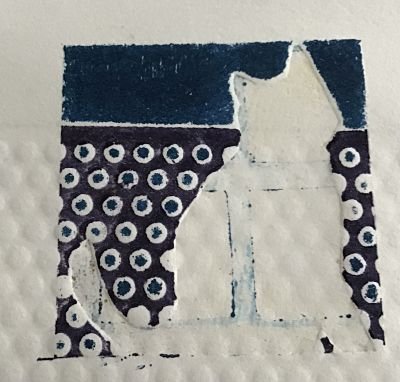
I was working on a 2” x 2” linoleum block print that I had started as a demonstration for one of my classes. I made it small so it could be a quick demonstration, but also I really like tiny things. And I started to think about making a series of tiny prints. I wondered how would I go about making tiny mono-type prints? It would be hard to ink such a small plate, and keeping everything in alignment as it goes through the press could be tricky.
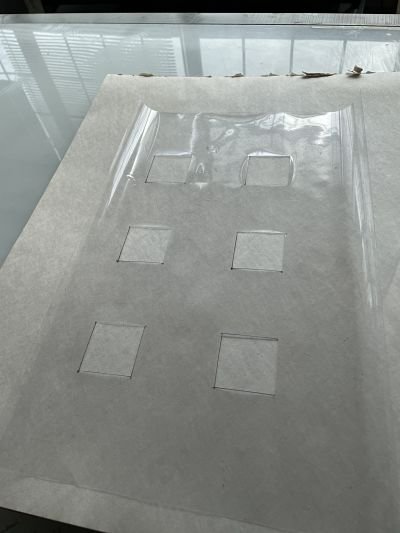
I thought about it, and decided that the best way to do it it was to get a piece of acetate that was larger than the plastic printing plate I use, and cut six 2” x 2” windows in it. That way the plate would be larger, but the printed area small, and easier to manage. I could also print, six prints at a time.
Next, I sifted through my collection of shapes and stencils for appropriately small items that could fit in such a small area. I also cut some new shapes out of Bristol board.
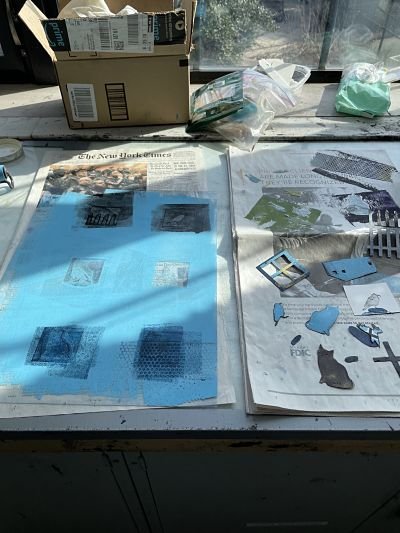
I inked my printing plate and placed the acetate with the windows, over it. Then I individually inked the Bristol board shapes and placed them atop the inked squares, or for some, I lifted up the acetate and arranged the small pieces partially underneath it. Then I ran it all through the press.
It was not bad. They were pretty simple, but how much can you cram into a 2” x 2” space?
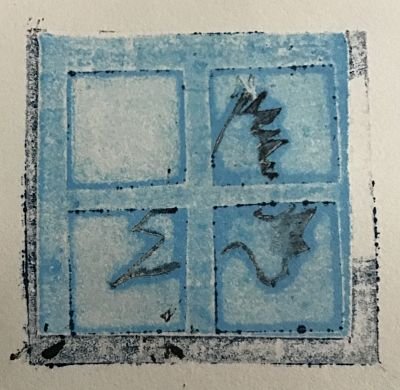
This gives a better sense of the scale of these prints
For me, the magic starts to happen after the first run. Because now I have the opportunity to add more ink, flip things over, and use the ghosts. I made three runs, before I ran out of time. (I had also brought some vinyl letters to add to the prints, but I totally forgot to use them.) Next time I hope to pursue this idea further. For instance, I think a grid of four would be better if I wanted to keep them together on one page. Obviously, if I cut them into individual prints, it makes no difference.
I will keep you posted.


